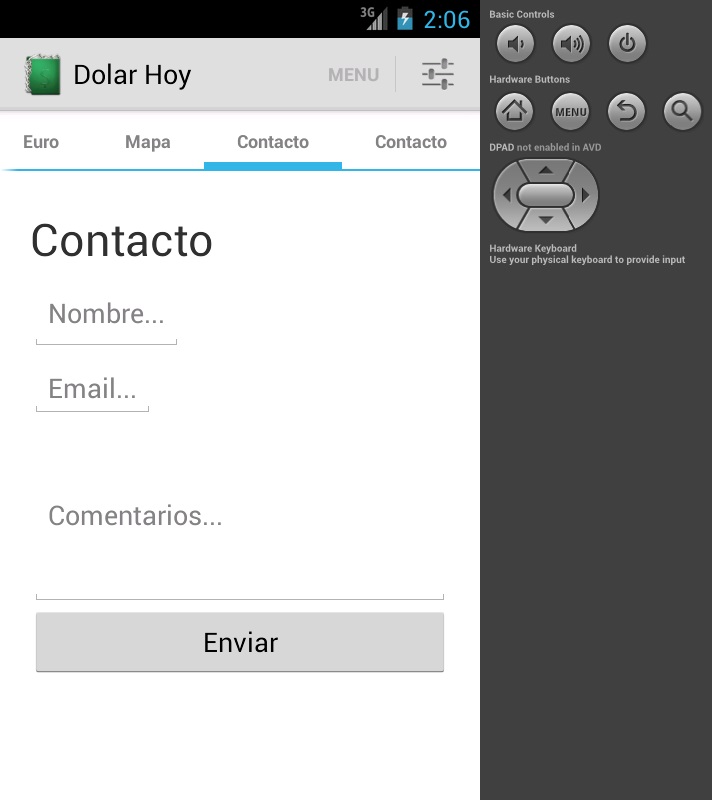
In my Android app I'm having a unique comments section from the users to contact me, they send comments and messages to my mail via this layout...
Now lets see i want to send a mail, with this three fields, to myself, via my app... I know!
An get request to a server, sending this three fields in a mail to myself!
Let's do this... first of all... lets fins a library that sends mails
bingo! Nodemailer it s very appropriate for this task...
https://github.com/andris9/Nodemailer
https://npmjs.org/package/nodemailer
Lets's install it..
I use Cloud9 for developing in Node.js the pros are enough and the ide just IDE just works it coud debug in real time, and it got an console with some practice you can make a server and deploying it in no time, now lets see install node mailer.
Node has npm (node package manager) it resolves the dependencies via the Package.json or installing the stuf directly into the app via the npm install <name_of_the_library>, we gona use that for our app.
Just get inside the console and type : npm install nodemailer
This will install the necessary stuf for call the library inside the app.
Now let's make a js file that sends files
var nodemailer = require("nodemailer");
var smtpTransport = nodemailer.createTransport("SMTP",{
service: "Gmail",
auth: {
user: "me@gmail.com",
pass: "pass"
}
});
var mailOptions = {
from: "Server <me@gmail.com>", // sender address
to: "me@gmail.com", // list of receivers
subject: "", // Subject line
text: "", // plaintext body
html: "" // html body
};
exports.mailOptions = mailOptions;
exports.sendMail = function () {
smtpTransport.sendMail(mailOptions, function(error, response){
if(error){
console.log(error);
}else{
console.log("Message sent: " + response.message);
}
/* if you don't want to use this transport object anymore, uncomment following line
//smtpTransport.close(); // shut down the connection pool, no more messages*/
});
};
Note: This example is almost identical to the one in the page of the library in Github my server is set in this one.
Now this library exposes itself like a public atribute in a class via the "exports". I assign to them the the methods and properties I want to access from another js file in this case the server one I want for principal obviously requiring it first...
Let's go for the server itself...
Bye.
Let's go for the server itself...
var express = require('express');var mail = require("./nodemail");var app = express();
app.use(express.logger());
app.get('/mail/:name/:subject/:text/:securitytoken', function(req, res) {
if (req.params.securitytoken != 'Salt742!') return res.send('Error: Wrong password...'); try { newMail(req.params.name,req.params.subject, req.params.text); } catch(err) { onError(err); }});
app.listen(process.env.PORT);
function newMail(name, subject, text) { mail.mailOptions.subject = 'Message from User: ' + name + ' with Subject : ' + subject; mail.mailOptions.text = text; mail.sendMail();}
function onError(err) { console.log(err);}
console.log('Server HTTP Listening on port ' + process.env.PORT + '...');
Well I'm gona explain this mess:
- First we use 'express' for listen to the get requests.
- In the get request we read the fields im sending from the app an one security token
- First of all we read the token and compare it to the one we got.
- Then we load the the data in the function newMail this one will set the values in the nodemail.js
- After this we call the function in nodemail.js that will trigger the mails.
Well people that's all for now. I want some feedback, so please let me know if this is useful for you people out there. Or what would you like to see next in the blog.
Bye.


